Objective
This activity introduces students to center-to-center turning operations involving a flange assembly. The task requires the student to mount the previously machined flanges onto the shaft (first workpiece) and secure them using a nut. The goal is to perform accurate turning to dimension followed by chamfering using the compound rest set to a calculated angle. The exercise emphasizes geometric computation, workholding alignment, and sequential machining techniques.
Materials and Equipment
The following materials and tools are essential for successfully completing this activity. Ensure they are available, complete, and in proper working condition before starting.
- Shaft with Threaded End (from previous activity)
- Two Finished Flanges (from previous activity)
- Hex Nut to clamp flanges
- HSS or Carbide Turning Tool
- Protractor
- Lathe Machine
- Drive Plate
- Lathe Dog
- $60\degg$ Dead Center
- $60\degg$ Live Center
- Vernier Caliper
- Safety Goggles
Procedure
Flange Assembly and Mounting
- Mount both flanges onto the threaded shaft, placing one flange on each side.
- Secure the flanges tightly using a hex nut to ensure both are clamped firmly against the shaft (see Figure 8.1).
- Mount the assembly center to center using a lathe dog and a live center in the tailstock.
- Rotate the workpiece manually to confirm that it spins freely and is properly aligned.
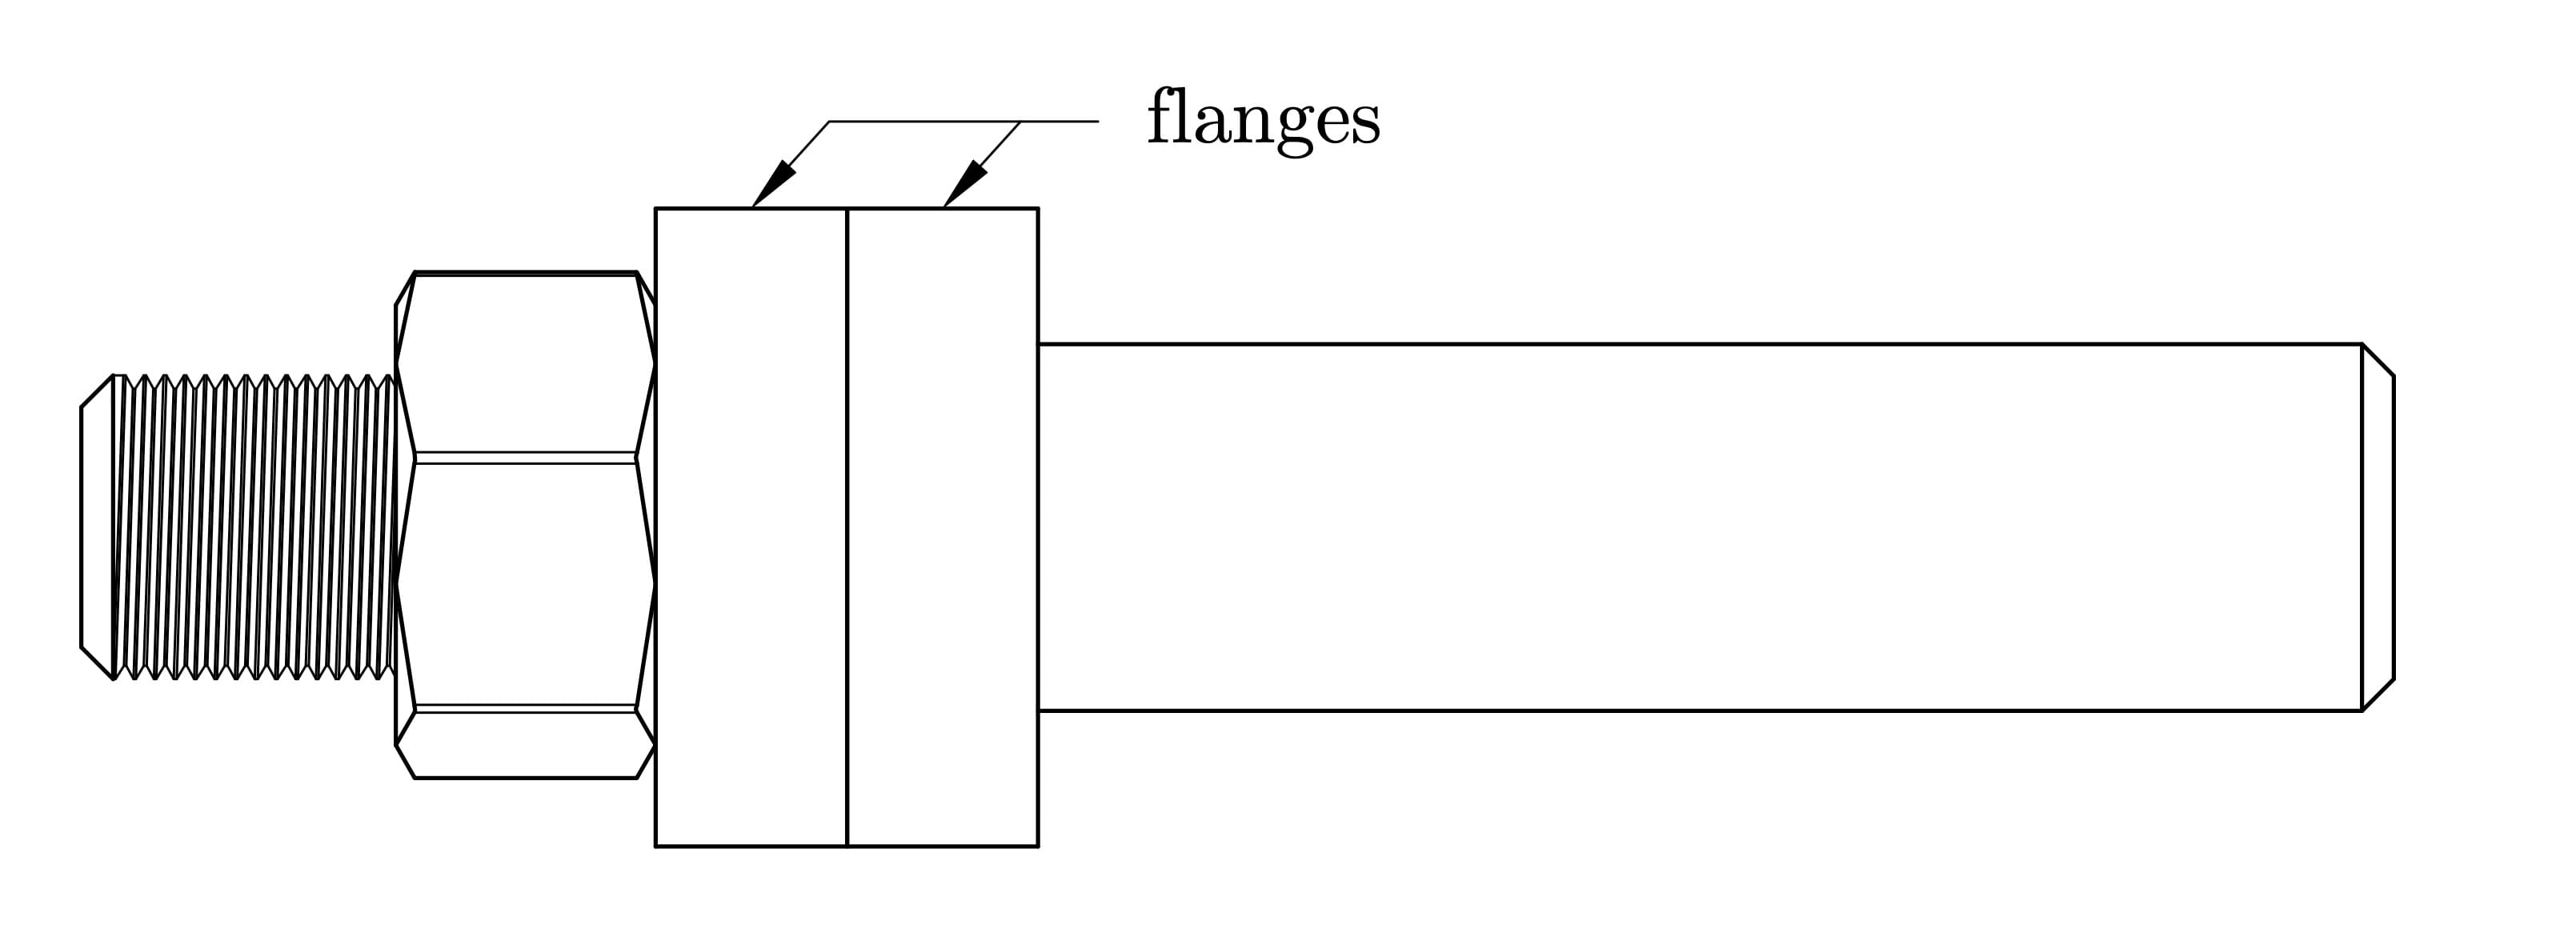
Figure 8.1: Mounting the flange assembly onto the threaded shaft and securing it with a hex nut.
Turning to Dimension
- Use the HSS or carbide turning tool to reduce the outer diameter of both flanges according to the design specifications.
- Ensure the cutting is even across both flanges and that the surfaces remain parallel.
- Continue turning until the desired outer diameter is achieved.
Computing the Chamfer Angle
- Based on the desired chamfer length, $L$ and chamfer depth, $t$, compute the required compound rest angle using the tangent function:
- Refer to Table 8.2 (in the Laboratory Worksheet) to compute the chamfer angle using your dimensions.
- Rotate the compound rest to the calculated angle relative to the workpiece axis.
- Lock the compound rest securely to prevent any movement during the chamfering operation.
$$\begin{align} \theta = \tan^{-1}\left(\frac{L}{t}\right) \end{align}$$
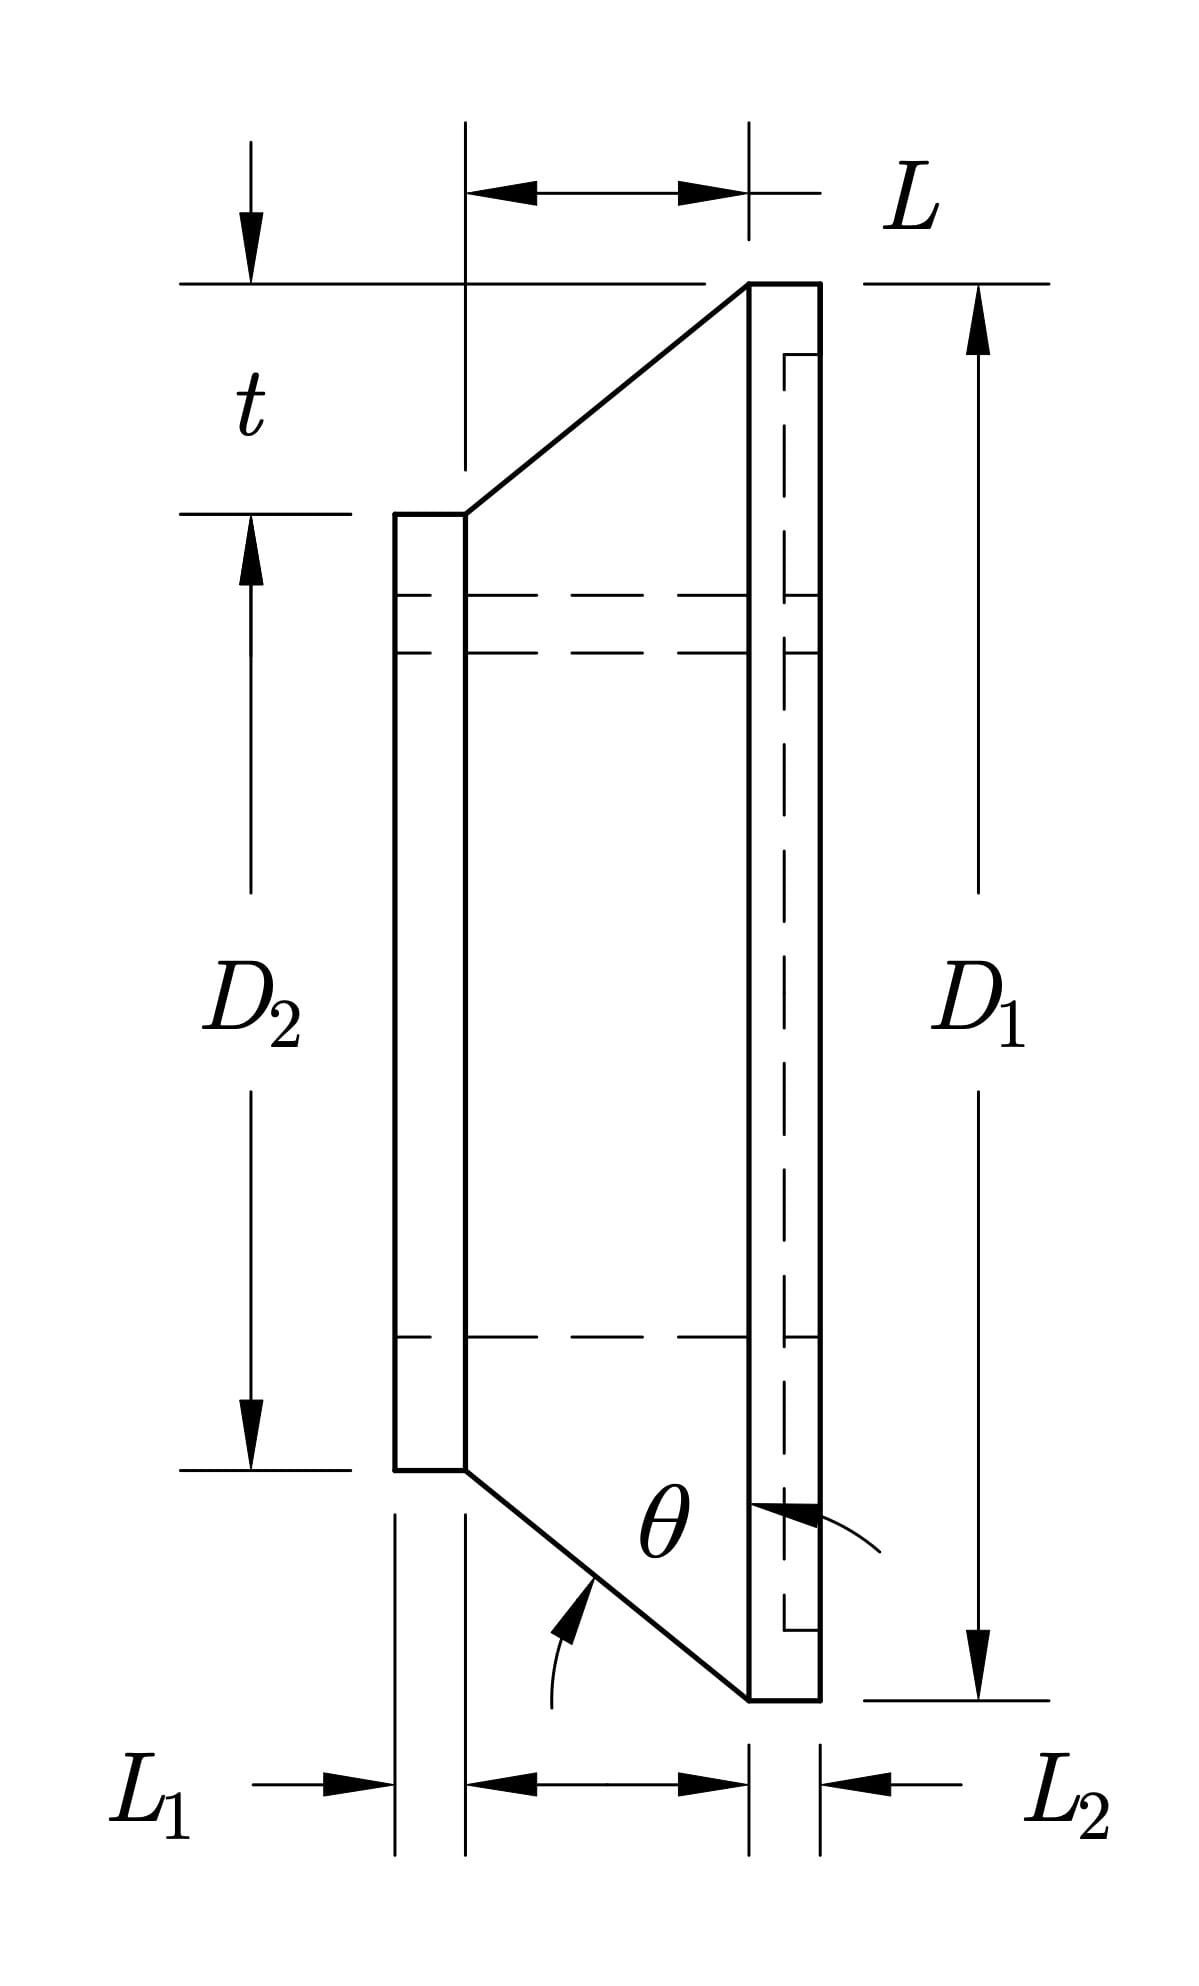
Figure 8.2: Visual representation of chamfer angle computed from chamfer length and depth. This angle determines the compound rest setting.
Chamfering the First Flange
- Using the adjusted compound rest, feed the tool manually along the set angle to chamfer the edge of the first flange.
- Visually inspect the chamfer and verify its dimensions using a protractor and vernier caliper.
- Continue cutting until the chamfer matches the dimensions specified in your plan.
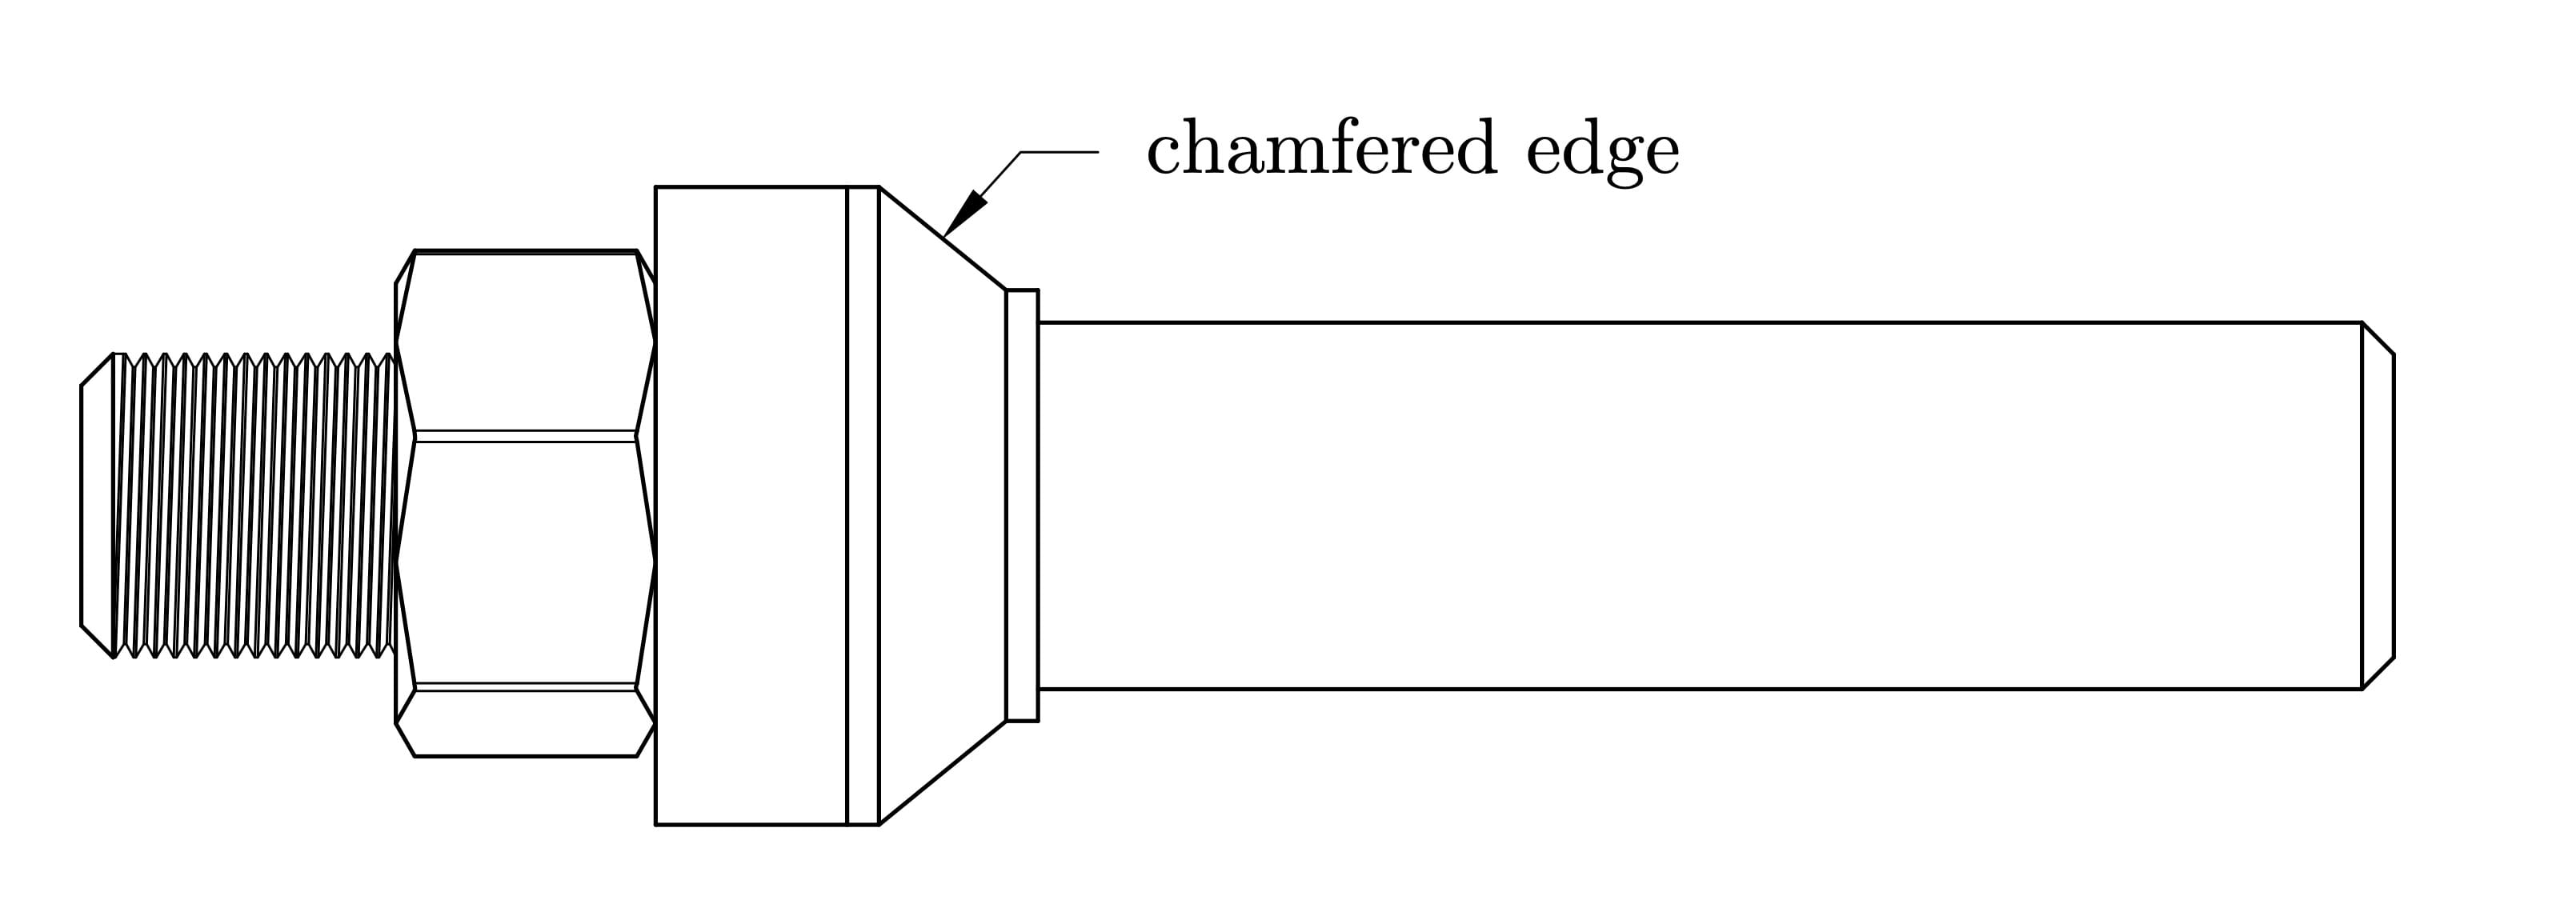
Figure 8.3: Chamfering the edge of the first flange using the adjusted compound rest angle.
Chamfering the Second Flange
- Loosen the hex nut and remove both flanges from the shaft.
- Rotate or flip the flange assembly to expose the second flange edge for chamfering.
- Remount the assembly in the same center-to-center configuration, ensuring proper alignment.
- Chamfer the second flange using the same compound rest angle and technique as the first.
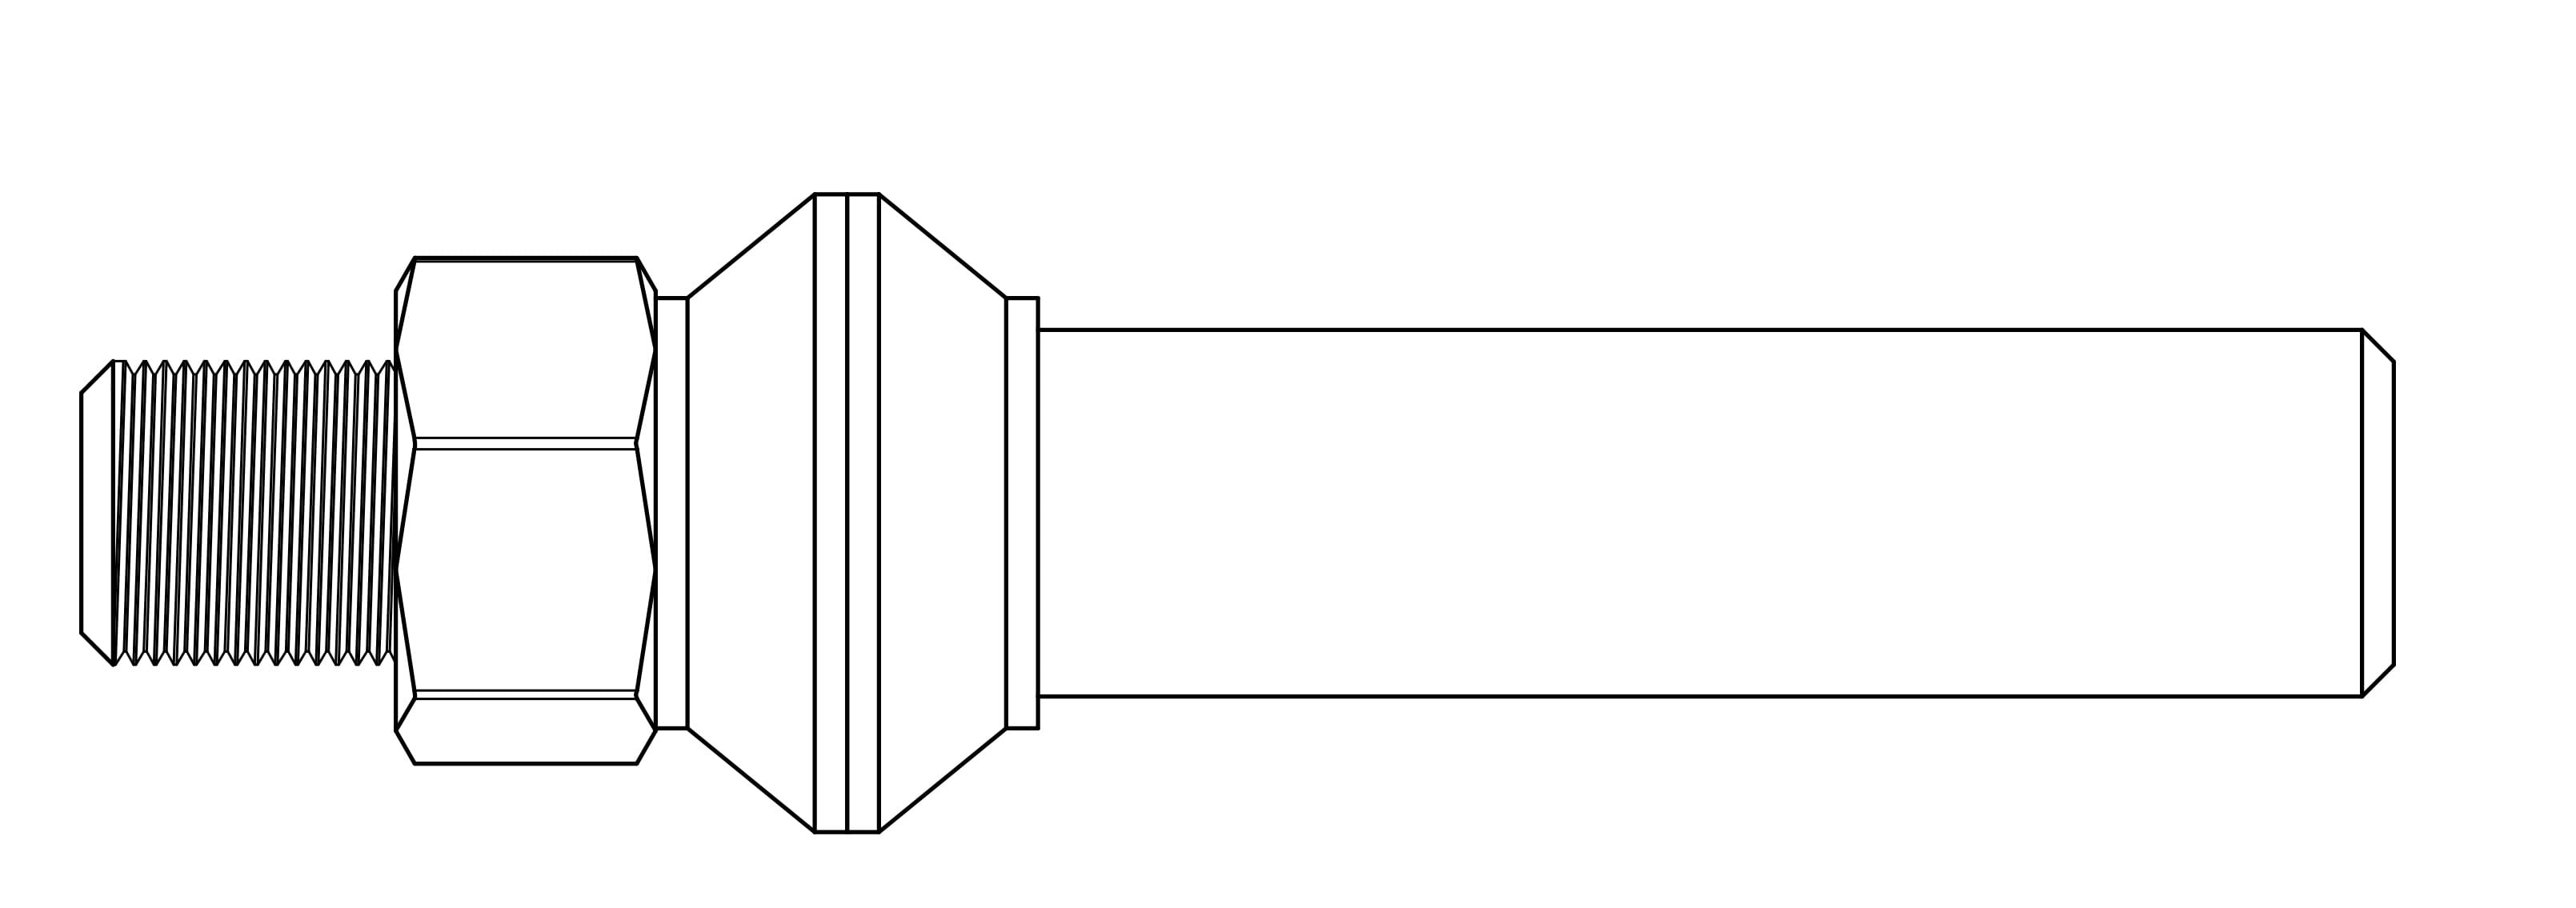
Figure 8.4: Repositioning the assembly to chamfer the opposite flange using the same compound rest angle.
Final Measurements
- Use a vernier caliper to measure and verify the final dimensions of each machined flange.
- Record your measurements and compare them with the design specifications in Table 8.1 (in the Laboratory Worksheet).